


Including captions—or transcripts—of videos is an easy way to enhance eLearning accessibility and make eLearning videos usable to more learners, including those who need to view them without sound. Captioning YouTube videos is easy and a great introduction to do-it-yourself accessibility enhancements.
The captioning process adds, essentially, subtitles. With a little extra effort, a developer could create closed captions that also describe ambient sounds and sound effects, providing a better learning experience for learners who are hard of hearing or viewing without audio.
The person creating the captions or transcript must be the owner of the video, which must be uploaded to YouTube. Then, captioning is a matter of following these steps:
1. Open the YouTube account and navigate to the Video Manager tab; it’s part of Creator Studio.
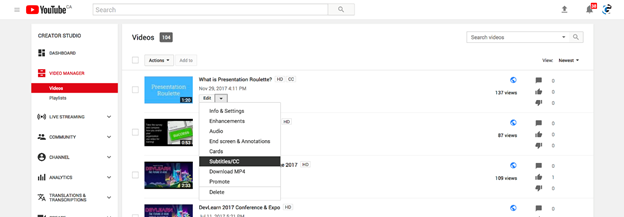
2. Find the video that needs captions, and click on the drop-down Edit menu; choose Subtitles /CC:
Figure 1: Choose Subtitles/CC from the Edit menu in the Video Manager.
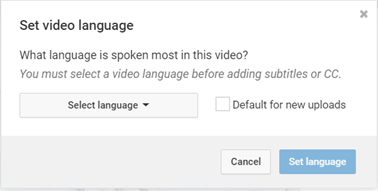
3. Choose a language. This should be the language that the dialogue—or majority of the dialogue—in the video uses. Click Set language.
Figure 2: Use the drop-down menu to choose the video language.
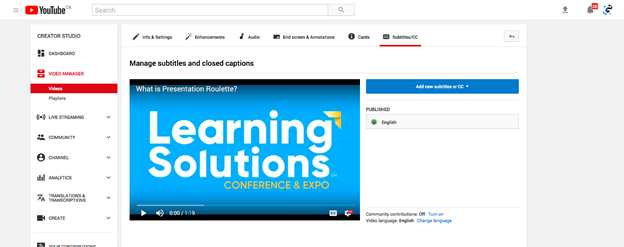
4.If the video already has subtitles, the languages of those subtitles will be listed. Clicking on the Add new subtitles or CC drop-down menu opens a list of languages. Select the language of the captioning that you will be creating.
Figure 3: Existing subtitle or caption languages will be listed.

Figure 4: The Add new subtitles or CC drop-down menu lists language choices.
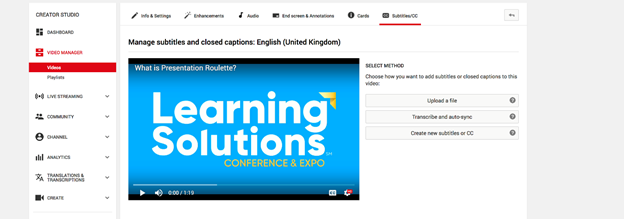
5. Choose whether to upload the caption text in a file, have YouTube create and sync a transcript, or create a new caption file in YouTube. The Transcribe option is available only if the subtitle/CC language matches the original video language.
Figure 5: Choose how to create the subtitles.
Automated options
Two options for getting started with captions are uploading a file with your script or using the “Transcribe and auto-sync” feature.
- Upload: It’s possible to upload a fairly simple Word document with the script for the dialogue in the video. YouTube will insert breaks according to a rather mysterious system, but it’s easy to edit the captions and change the timing.
- Transcribe: Using an equally opaque system, YouTube will come up with a rendition of the dialogue in the video. Again, it’s easy to edit and change the timing.
Some caveats for using these methods:
- YouTube fails to appreciate the graceful beauty of a well-punctuated sentence; some editing will be required.
- Neither of these methods captures ambient sounds or sound effects, so to create true closed captions for viewers who are hard of hearing or have audio turned off, you will need to add descriptions of these sounds.
Starting with a blank slate
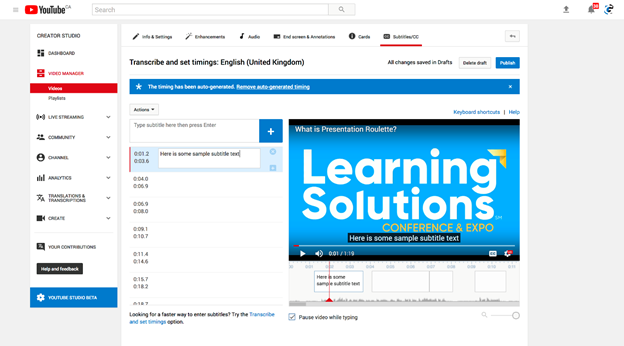
Figure 6: When you create new subtitles, YouTube generates blank caption boxes; it’s easy to change the timing if needed.
6. Choose “Create new subtitles or CC” from the menu, and YouTube will create empty boxes where you can type in the caption text. The timing of these is generated automatically, and it is easy to change.
In Figure 6, a red bar appears on the timeline under the video. This bar moves as the video plays, helping you figure out when to start and stop each caption text block. Drag the edges of the size and timing of the blocks, which appear under the video, to make them appear for a longer or shorter time.
7. Type the text in the boxes that appear along the left side of the video. If you are editing existing (or auto-generated) caption text, edit it in these boxes. Add in descriptions of any non-dialogue sounds here as well.
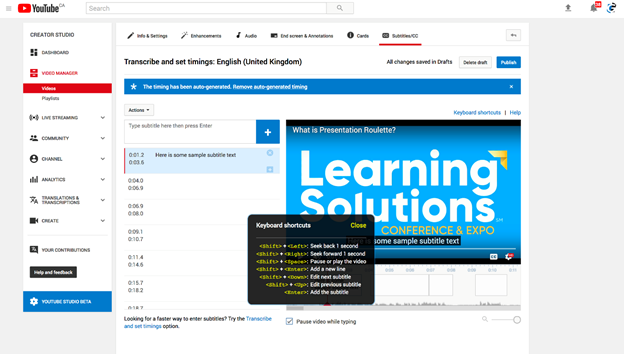
YouTube offers keyboard shortcuts to make it easier to adjust the timing and edit subtitles. These are displayed in Figure 7.
Figure 7: Keyboard shortcuts make editing captions and timing easy.
Figure 8 shows a video with the captions turned on.
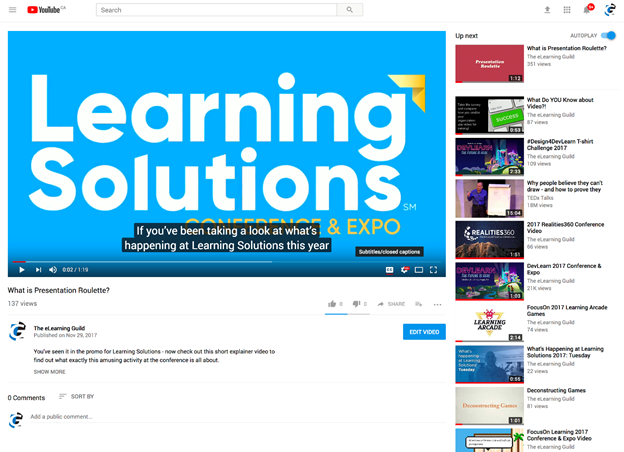
Figure 8: YouTube captions appear when selected (a red line under the CC in the lower-right corner indicates that captioning is on).
Using captions
Viewers must activate the CC (closed captioning) button in the bottom right corner of the screen to turn on caption display. A red bar under the CC indicates that captioning is on.
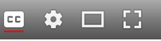
Figure 9: A red bar under the CC icon indicates that captioning is turned on.
Using the setting menu, viewers can choose the subtitle or caption language if multiple sets of subtitles or captions are available.
YouTube does not allow developers to change the size, font, position, or other aspects of the caption appearance—but viewers can.
Choosing Subtitles/CC from the settings menu, then options, allows viewers to set the font and size of captions, the text and background colors, background opacity, and more.
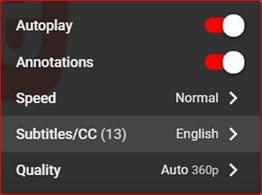
Figure 10: The settings menu is where viewers can control the appearance of subtitles or captions.
Captioning YouTube videos is an easy and inexpensive way to make videos more useful to all learners—and to provide access to learners who are hard of hearing. Enhancing the captions to create closed captions, which describe ambient sound and sound effects, takes accessibility a step further.